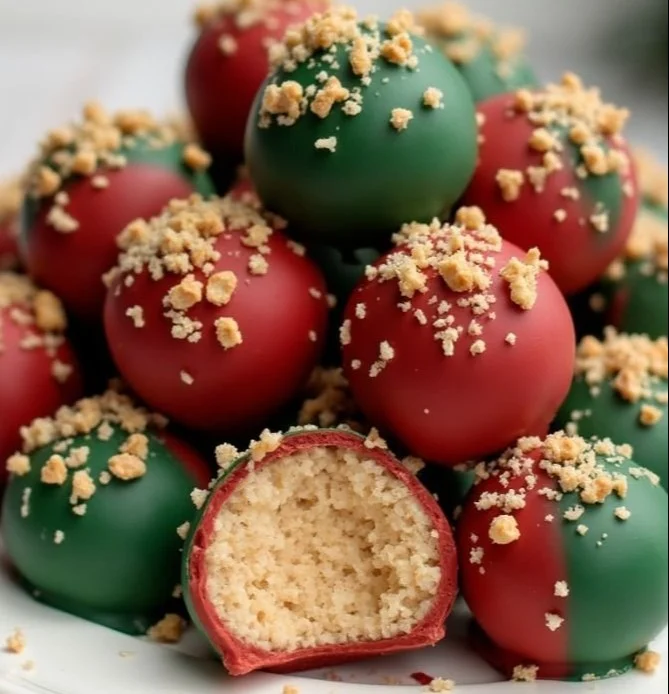
Chocolate Butterfinger Balls are a delightful treat that combine the rich, creamy flavor of peanut butter with crunchy Butterfinger candy, all enveloped in colorful chocolate coating. These festive bites are not only easy to make but also perfect for any occasion, making them a must-try recipe for your next gathering or holiday celebration.
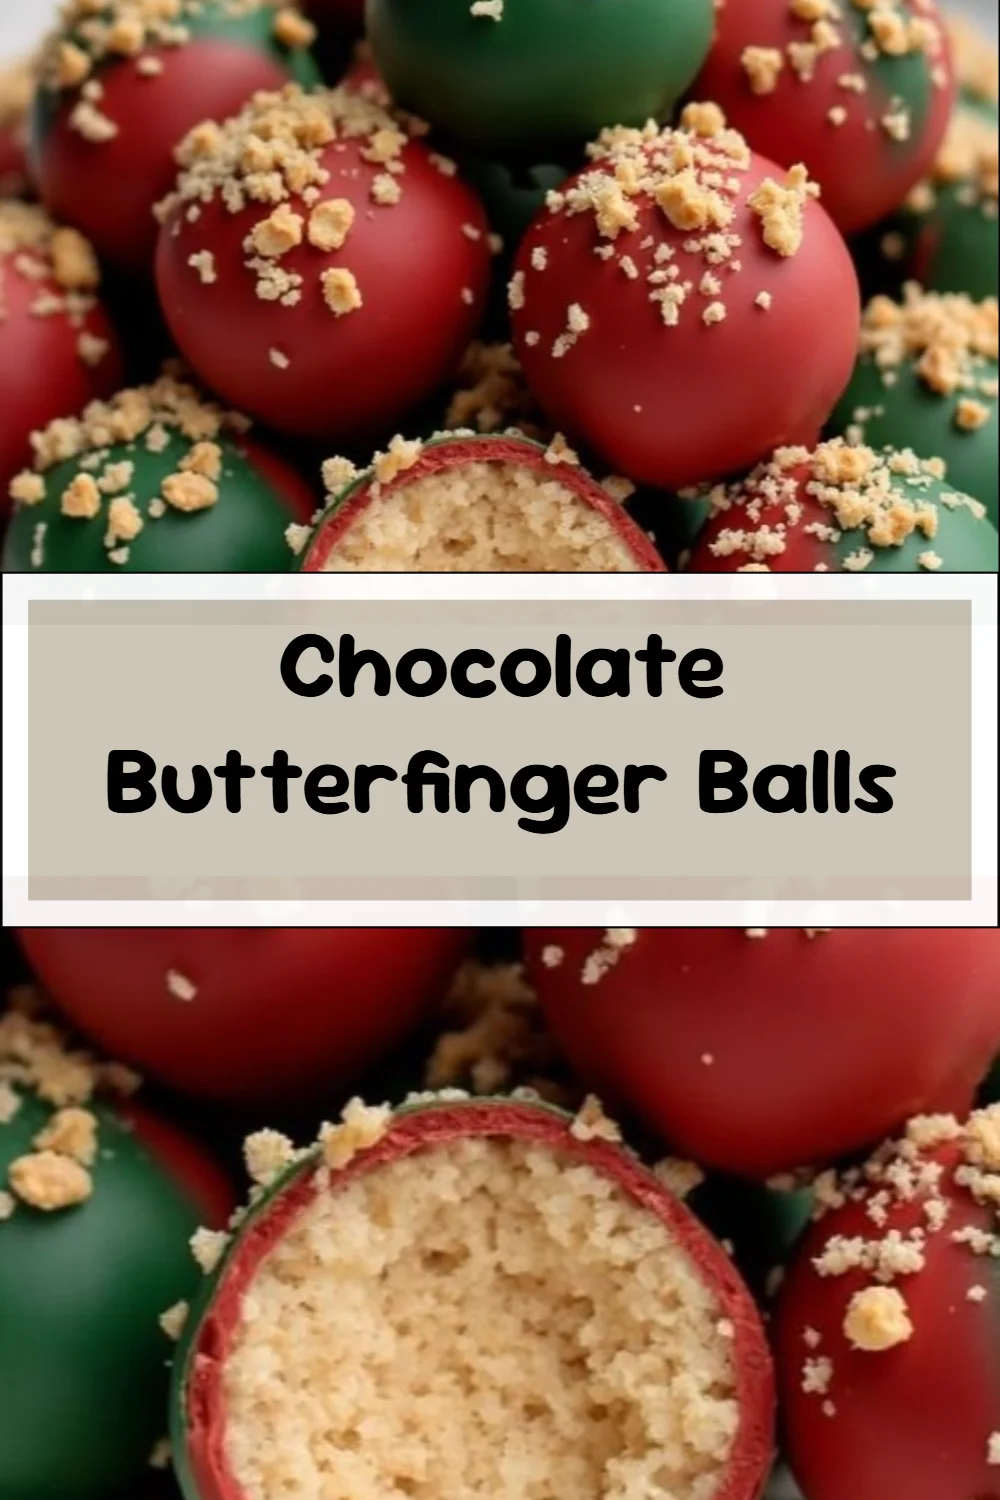
Why You’ll Love Chocolate Butterfinger Balls
- Quick to Prepare: In just 30 minutes, you can whip up a batch of these delicious treats, making them a great option for last-minute dessert cravings.
- No Baking Required: These no-bake treats eliminate the need for an oven, simplifying the process and keeping your kitchen cool.
- Customizable Coating: With red and green chocolate melts, these balls fit perfectly into holiday themes, but you can tailor the colors to suit any occasion.
- Kid-Friendly Fun: Involve your children in the rolling and dipping process, turning dessert-making into a fun family activity.
- Perfect for Gift Giving: Pack these treats in a decorative tin or box for a thoughtful homemade gift during the holidays or for special occasions.
Recipe Overview
- Prep Time: 20 minutes
- Cook Time: 10 minutes
- Total Time: 30 minutes
- Servings: Approximately 24 balls
- Difficulty Level: Easy
Ingredients You’ll Need for Chocolate Butterfinger Balls
-
Candy Mixture:
- 1 ½ cups crushed Butterfinger candy bars
- 1 cup peanut butter
- 2 cups powdered sugar
-
Chocolate Coating:
- 1 cup red chocolate melts
- 1 cup green chocolate melts
These ingredients come together to create a delightful combination of flavors and textures. The crushed Butterfinger bars add a crunch that pairs beautifully with the creamy peanut butter, while the chocolate coating provides sweetness and visual appeal. If you’re unable to find Butterfinger bars, other chocolate-covered candy bars can work as substitutes for a different twist.
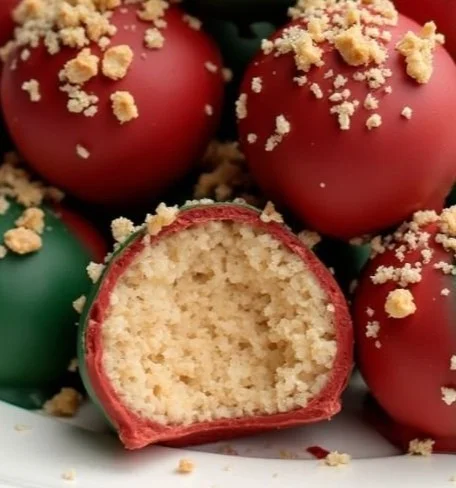
How to Make Chocolate Butterfinger Balls
-
Combine Ingredients
In a large mixing bowl, combine the crushed Butterfinger candy, peanut butter, and powdered sugar. Mix until all the ingredients are well incorporated, forming a thick and pliable dough. -
Roll into Balls
Using your hands, roll the mixture into small balls, about one inch in diameter. This step is perfect for getting your hands a little messy! -
Chill the Mixture
Place the rolled balls on a baking sheet lined with parchment paper. Refrigerate for about 20 minutes to help them firm up before coating. -
Melt the Chocolate
While the balls chill, melt the red chocolate melts in a microwave-safe bowl. Heat in 30-second intervals, stirring in between, until smooth. Repeat this process with the green chocolate melts in a separate bowl. -
Dip into Chocolate
Once the balls are firm, dip half of them into the melted red chocolate, ensuring they’re fully coated. Use a fork to lift them out, allowing excess chocolate to drip back into the bowl. Place them on a wax paper-lined sheet to set. Repeat with the remaining balls and the green chocolate. -
Let Them Set
Allow the dipped balls to set completely at room temperature or refrigerate briefly until the chocolate hardens. Serve and enjoy your festive Chocolate Butterfinger Balls!
Tips for Success
- Maintain Cool Hands: If your hands warm the mixture too much while rolling, consider chilling the dough for a few minutes before rolling again.
- Work in Batches: If you’re making a large quantity, consider working in smaller batches to avoid the dough getting too soft.
- Use a Melting Pot: For easier chocolate melting and dipping, consider investing in a chocolate melting pot, which helps maintain the perfect temperature.
- Don’t Skip Chilling: Chilling the rolled balls is essential for ensuring they hold their shape during dipping.
Easy Variations
- Nutty Twist: Stir in chopped nuts such as peanuts or almonds for extra crunch and flavor.
- Add Flavoring: Mix in a splash of vanilla or almond extract into the peanut butter for a subtle flavor boost.
- Dairy-Free Option: Use dairy-free chocolate melts and a nut or seed butter alternative for a vegan-friendly version.
- Seasonal Sprinkles: Top the coated balls with festive sprinkles before the chocolate sets for added color and fun.
- Peanut Butter Swirl: Instead of rolling into balls, create a layered dessert by spreading the mixture into a pan and swirling melted chocolate on top.
What to Serve with Chocolate Butterfinger Balls
- Milk: A classic pairing, serve with a cold glass of milk to complement the rich flavors.
- Coffee: The bitterness of coffee balances the sweetness of the balls, making it an ideal pairing for adults.
- Ice Cream: A scoop of vanilla or chocolate ice cream can enhance the indulgence of these treats.
- Fruit Platter: Fresh fruits like strawberries or apples add a refreshing contrast to the sweetness of the Butterfinger balls.
- Hot Chocolate: Perfect for a cozy gathering, hot chocolate adds warmth and pairs beautifully during chilly evenings.
Storage and Reheating
- Refrigerator Storage: Store the Chocolate Butterfinger Balls in an airtight container in the refrigerator for up to a week.
- Freezer Storage: For longer storage, you can freeze them in a single layer, then transfer to a freezer-safe container for up to two months.
- Reheating: These treats are best enjoyed straight from the fridge, as thawing can cause the chocolate to lose its original texture.
- Meal Prep Note: Consider making these ahead of time for gatherings or holiday events; they travel well and can be easily shared!
Common Mistakes to Avoid
- Skipping the Refrigeration: Don’t skip the step to chill the balls before dipping; it helps them maintain their shape.
- Overheating Chocolate: Be careful not to overheat the chocolate melts, as they can seize or burn; use short intervals when melting.
- Too Sticky Mixture: If the mixture is too sticky to roll, adding a little more powdered sugar may help make it manageable.
- Dipping Too Fast: Take your time when dipping in chocolate to avoid clumping; let excess chocolate drip off properly.
Chocolate Butterfinger Balls: Background & Cultural Inspiration
Chocolate Butterfinger Balls offer a fun and nostalgic twist on classic candy combinations. The Butterfinger candy bar, first introduced in 1923, has been a beloved treat for generations. Combining it with peanut butter and chocolate embraces the sweet flavors popular in treats while also making these balls a perfect option for holiday gatherings, embracing seasonal spirit and smiles alike. This dessert reflects a joyous celebration of childhood favorites and allows for creativity in both presentation and flavor.
Frequently Asked Questions
Can I use other candy bars instead of Butterfinger?
Absolutely! Feel free to use any crushed chocolate-covered candy bars, like Snickers or Twix, for a different flavor profile.
How long do these last in the fridge?
These treats can last up to a week in an airtight container stored in the fridge.
Can I make these ahead of time?
Yes! These Chocolate Butterfinger Balls can be made a few days in advance, making them a convenient option for parties or gatherings.
What can I substitute for peanut butter?
If you need a nut-free alternative, sunflower seed butter works well and maintains that creamy texture.
How can I customize the chocolate coating?
You can easily customize the chocolate coating to match any theme or occasion by choosing different colored chocolate melts.
Final Thoughts
Chocolate Butterfinger Balls are a delightful and simple treat that will impress family and friends alike. Their rich, sweet flavor combined with a bit of festive flair makes them perfect for any occasion. Give this easy recipe a try and enjoy sharing smiles with every delicious bite!
Chocolate Butterfinger Balls
Chocolate Butterfinger Balls are delightful, no-bake treats combining creamy peanut butter and crunchy Butterfinger candy, coated in colorful chocolate, perfect for any occasion.
Candy Mixture
- 1.5 cups crushed Butterfinger candy bars
- 1 cup peanut butter
- 2 cups powdered sugar
Chocolate Coating
- 1 cup red chocolate melts
- 1 cup green chocolate melts
Combine Ingredients
- In a large mixing bowl, combine the crushed Butterfinger candy, peanut butter, and powdered sugar. Mix until all the ingredients are well incorporated, forming a thick and pliable dough.
Roll into Balls
- Using your hands, roll the mixture into small balls, about one inch in diameter.
Chill the Mixture
- Place the rolled balls on a baking sheet lined with parchment paper. Refrigerate for about 20 minutes to help them firm up before coating.
Melt the Chocolate
- While the balls chill, melt the red chocolate melts in a microwave-safe bowl. Heat in 30-second intervals, stirring in between, until smooth. Repeat this process with the green chocolate melts in a separate bowl.
Dip into Chocolate
- Once the balls are firm, dip half of them into the melted red chocolate, ensuring they’re fully coated. Use a fork to lift them out, allowing excess chocolate to drip back into the bowl. Place them on a wax paper-lined sheet to set. Repeat with the remaining balls and the green chocolate.
Let Them Set
- Allow the dipped balls to set completely at room temperature or refrigerate briefly until the chocolate hardens. Serve and enjoy your festive Chocolate Butterfinger Balls!
Tips for success include maintaining cool hands while rolling, working in batches, using a melting pot for chocolate, and not skipping the chilling step.