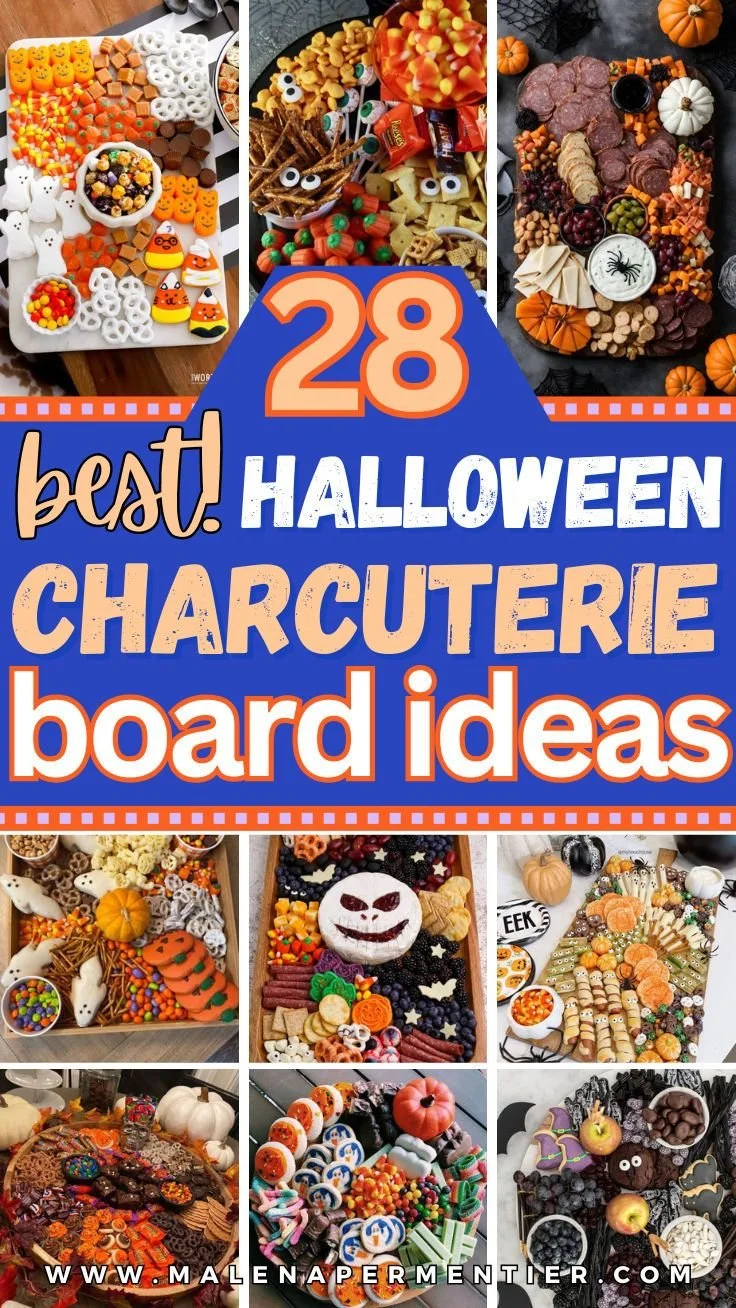
Creating a delightful Halloween Charcuterie Board is a wonderful way to bring festive cheer to your gatherings. This recipe is not only easy to assemble but it’s visually stunning and allows for creativity, making it perfect for both children and adults. You’ll love how this board transforms typical snacking into a lively and engaging experience.
Why You’ll Love Halloween Charcuterie Board
- Easy to Assemble: No cooking required! Just arrange the ingredients on a platter for an effortless but impressive display.
- Customizable: You can tailor the board to suit personal tastes and dietary preferences, making it suitable for all your guests.
- Visually Festive: The combination of seasonal fruits, spooky candies, and decorative elements creates a fun Halloween atmosphere that’s perfect for parties.
- Perfect for Sharing: A charcuterie board encourages mingling and sharing among guests, making it ideal for social settings.
- Kid-Friendly Option: With playful themes and treats, children will love diving into this friendly feast.
Recipe Overview
- Prep Time: 20 minutes
- Cook Time: 0 minutes
- Total Time: 20 minutes
- Servings: 8
- Difficulty Level: Easy
Ingredients You’ll Need for Halloween Charcuterie Board
- Assorted Cheeses:
- Cheddar
- Brie
- Gouda
- Cured Meats:
- Salami
- Prosciutto
- Seasonal Fruits:
- Grapes
- Apples
- Oranges
- Halloween-themed Candies:
- Gummy worms
- Candy corn
- Crackers and Breadsticks: Choose a variety for different textures.
- Nuts:
- Almonds
- Walnuts
- Spooky-themed Decorations: For example, small plastic spiders or pumpkins to add a festive touch.
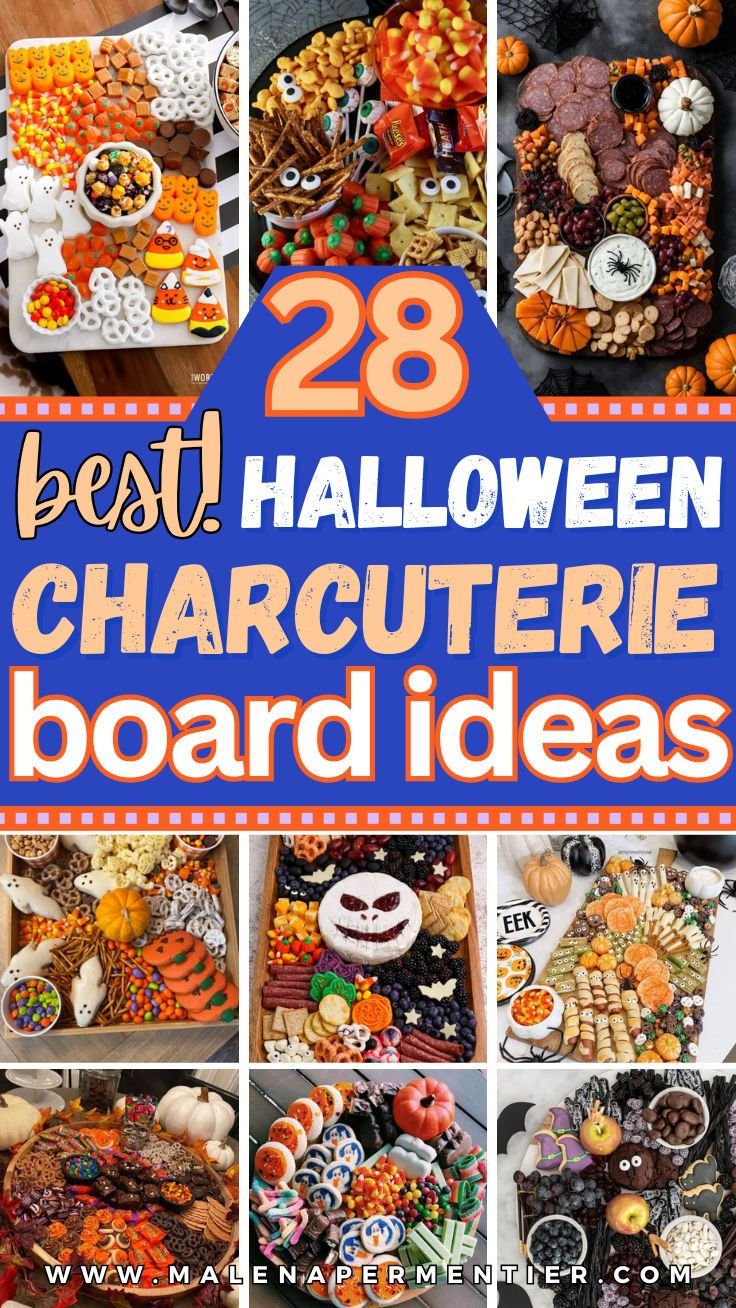
How to Make Halloween Charcuterie Board
- Choose Your Base: Take a large wooden board or platter. This will serve as the foundation for your board.
- Arrange the Cheeses: Place the assorted cheeses in different sections of the board. Feel free to cut some into wedges for variety.
- Add Cured Meats: Neatly place the cured meats next to the cheeses. Folding the slices can help with presentation.
- Fill in Seasonal Fruits: Scatter the seasonal fruits around the cheeses and meats to create a colorful and inviting display.
- Scatter Halloween Candies: Add the Halloween-themed candies throughout the board. This will provide a fun, festive touch for Halloween.
- Incorporate Crackers and Breadsticks: Place an assortment of crackers and breadsticks along the sides of the board. They’ll complement the cheeses and meats nicely.
- Toss in Some Nuts: Sprinkle in a variety of nuts for added texture and flavor.
- Decorate with Spooky Items: Finally, place small decorative items like plastic spiders or pumpkins around the board to enhance the Halloween vibe.
Tips for Success
- Be Thoughtful with Colors: Choose colorful fruits and intriguing candies to make your board visually appealing.
- Use Room Temperature Ingredients: Let your cheeses and meats sit out for about 30 minutes before serving to enhance their flavors.
- Don’t Overcrowd: Leave some space on the board. This not only improves presentation but also makes it easier for guests to serve themselves.
- Choose a Variety: Offering different textures and flavors, such as creamy cheeses with crunchy nuts, can elevate the eating experience.
- Plan Ahead: You can prepare some items a day in advance, like slicing cheeses and fruits, and store them in airtight containers until you’re ready to assemble the board.
Easy Variations
- Cheese Swap: Try using different types of cheeses like blue cheese or goat cheese for a unique flavor.
- Spicy Touch: Add spicy salami or pepper jack cheese for a little heat.
- Vegetarian Option: Replace cured meats with a variety of roasted vegetables or marinated olives.
- Sweet Additions: Include mini chocolate bars or flavored popcorn for additional sweet treats.
- Gluten-Free Version: Use gluten-free crackers or celery sticks as a base instead of breadsticks.
What to Serve with Halloween Charcuterie Board
- Wine: A light white wine or rosé pairs perfectly with cheese and meats.
- Cider: Hard cider adds a seasonal touch that complements the flavors of the board.
- Mocktails: Offer festive non-alcoholic drinks, like apple cider, for a fun alternative.
- Spooky Desserts: Pair with Halloween-themed sweets, such as spooky cupcakes or cookies.
- Chips and Dips: A selection of chips with hummus or guacamole can round out the gathering’s snack options.
Storage and Reheating
- Refrigerator Storage: Any leftovers can be stored in an airtight container in the refrigerator for up to 2 days.
- Freezer Storage: Most items are not suitable for freezing; however, some cheeses can be frozen, though texture may change.
- Best Reheating: If you have components that need reheating like breads, toast them lightly to restore freshness.
- Preserving Texture: Always keep fruits and cheeses separate if storing leftovers to maintain freshness.
- Meal Prep Note: You can prepare and cut cheese and fruit in advance; just assemble the board just before serving.
Common Mistakes to Avoid
- Ignoring Temperature: Serving cheeses too cold can reduce their flavor. Always let them warm up slightly before serving.
- Overloading the Board: Keeping the board spacious allows for easier access and better presentation.
- Forgetting Aesthetic Balance: Aim for a variety of colors and textures to make the board visually appealing.
- Choosing Unfamiliar Flavors: Stick to familiar ingredients for a crowd-pleasing selection unless you know your guests’ preferences.
- Skipping Decoration: A few fun decorations can significantly enhance the visual appeal of your Halloween board.
Halloween Charcuterie Board: Background & Cultural Inspiration
Charcuterie has French origins, historically involving the preservation of meats. This style of food presentation has evolved, becoming more creative and inclusive. The modern charcuterie board celebrates variety and sharing, often incorporating local ingredients and seasonal themes. With Halloween, these boards turn into festive displays that involve not only savory treats but also sweet surprises and playful themes. Celebrating the harvest season with local cheeses and fruits makes this board a perfect fall-inspired treat.
Frequently Asked Questions
Can I prepare the Halloween Charcuterie Board in advance?
Yes, you can cut cheeses and fruits a day beforehand. Assemble the board a few hours before serving for optimal freshness.
What can I use instead of cured meats?
You might consider marinated vegetables, pickled items, or a selection of robust cheeses to keep it vegetarian-friendly.
How do I store leftovers?
Wrap leftover items securely in an airtight container and refrigerate for up to 2 days. Keep fruits and cheeses separate for best results.
Is it possible to make it vegan?
Absolutely! Use plant-based cheeses, nuts, fruits, and veggies to create a vibrant vegan charcuterie board.
Can I customize the recipe for dietary restrictions?
Of course! Adjust ingredient choices to meet various dietary needs, such as gluten-free or dairy-free by replacing certain items with suitable alternatives.
Final Thoughts
Creating a Halloween Charcuterie Board is a delightful way to celebrate the season while enjoying delicious food with loved ones. Its versatility and easy assembly make it a go-to option for any gathering. Whether you’re hosting a party or looking for a unique way to snack with family, you’ll find this recipe worth trying. Embrace the creativity of this festive board, and enjoy all the flavors it brings to the table!
PrintHalloween Charcuterie Board

A festive and customizable charcuterie board featuring seasonal fruits, cheeses, cured meats, and Halloween-themed candies, perfect for sharing at gatherings.
- Prep Time: 20 minutes
- Cook Time: 0 minutes
- Total Time: 20 minutes
- Yield: 8 servings
- Category: Appetizer
- Method: No cooking required
- Cuisine: American
- Diet: Vegetarian
Ingredients
- Assorted Cheeses: Cheddar, Brie, Gouda
- Cured Meats: Salami, Prosciutto
- Seasonal Fruits: Grapes, Apples, Oranges
- Halloween-themed Candies: Gummy worms, Candy corn
- Crackers and Breadsticks: A variety for different textures
- Nuts: Almonds, Walnuts
- Spooky-themed Decorations: Small plastic spiders or pumpkins
Instructions
- Choose Your Base: Take a large wooden board or platter.
- Arrange the Cheeses: Place assorted cheeses in different sections of the board.
- Add Cured Meats: Neatly place cured meats next to the cheeses.
- Fill in Seasonal Fruits: Scatter seasonal fruits around the cheeses and meats.
- Scatter Halloween Candies: Add Halloween-themed candies throughout the board.
- Incorporate Crackers and Breadsticks: Place an assortment along the sides.
- Toss in Some Nuts: Sprinkle in a variety of nuts for added texture.
- Decorate with Spooky Items: Place small decorative items around the board.
Notes
Let cheeses and meats sit at room temperature for about 30 minutes before serving for better flavor. Prepare some items a day in advance and store them in airtight containers.












