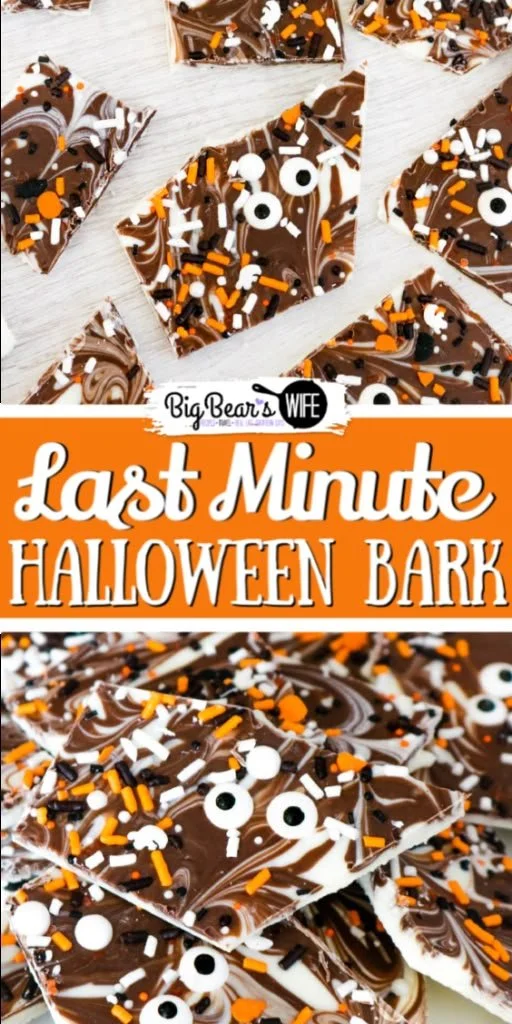
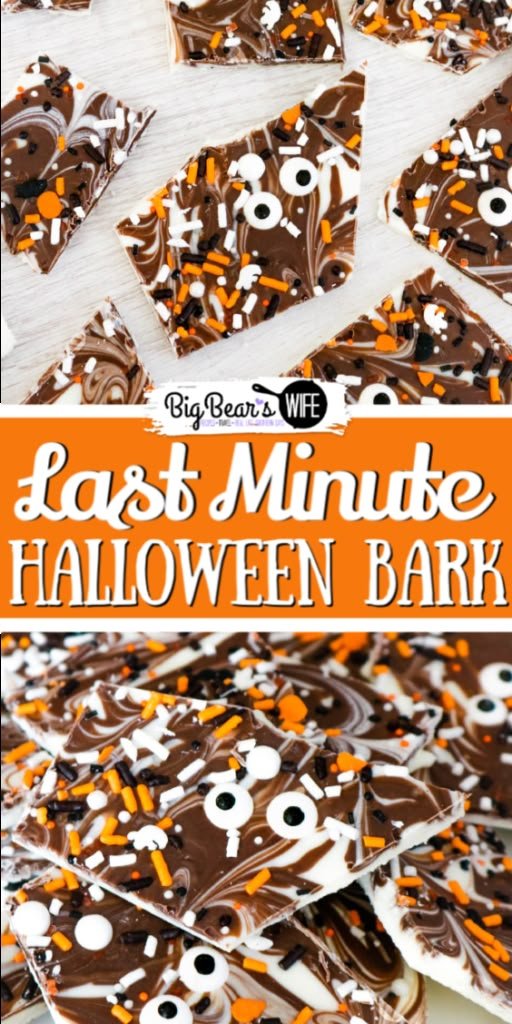
Chocolate Bark is a delightful, customizable treat that’s perfect for any special occasion or just a cozy night in. This Last Minute Halloween Bark is quick to prepare and visually appealing, making it a hit with both kids and adults alike. With a few simple ingredients and minimal effort, you can create a deliciously festive dessert that showcases your creativity and makes Halloween extra special.
Why You’ll Love Last Minute Halloween Bark
- Quick and Easy: With just a few simple steps, this recipe can be ready in under 30 minutes, making it perfect for those last-minute Halloween gatherings.
- Customizable Toppings: You can personalize the bark with your favorite toppings, whether it’s colorful sprinkles, nuts, or dried fruits, to cater to your taste.
- Fun for Kids: This is an ideal recipe for involving children, as they can help sprinkle toppings and break the bark into pieces.
- Perfect for Gifting: Packaged in a cute box or bag, this Halloween bark makes a charming gift for friends, family, or neighbors.
- Festive Presentation: The vibrant colors and textures create an eye-catching treat that enhances any Halloween party spread.
- Minimal Equipment Needed: You only need a microwave-safe bowl and a baking sheet, making cleanup a breeze.
Recipe Overview
- Prep Time: 10 minutes
- Cook Time: 5 minutes
- Total Time: 15 minutes
- Servings: 8
- Difficulty Level: Easy
Ingredients You’ll Need for Last Minute Halloween Bark
-
Chocolate:
- 12 oz milk or dark chocolate (choose based on your preference; milk chocolate provides a sweeter taste while dark chocolate offers a richer flavor)
-
Sprinkles:
- 1 cup Halloween-themed sprinkles (these can be pumpkin-shaped, ghost-themed, or classic colored sprinkles)
-
Optional Toppings:
- ½ cup chopped nuts (like almonds or pecans for crunch)
- ½ cup dried fruits (like cranberries or apricots for a chewy texture)
here
How to Make Last Minute Halloween Bark
-
Melt the Chocolate:
Place the chocolate into a microwave-safe bowl. Microwave in 30-second intervals, stirring in between, until it is fully melted and smooth. -
Spread the Chocolate:
Pour the melted chocolate onto a parchment-lined baking sheet. Use a spatula to spread it evenly into a rectangle about ¼ inch thick. -
Add the Sprinkles:
Sprinkle the Halloween sprinkles evenly over the melted chocolate, along with any additional toppings like nuts or dried fruits if desired. -
Cool and Set:
Place the baking sheet in the refrigerator for about 15-20 minutes or until the chocolate is fully set and firm to the touch. -
Break into Pieces:
Once set, remove the bark from the refrigerator. Use your hands to break it into irregular pieces, and it’s ready to serve!
Tips for Success
- Don’t Overheat the Chocolate: Melt the chocolate slowly to avoid burning. Stir frequently and remove it from the microwave as soon as you see it starts to melt.
- Choose Quality Chocolate: Using high-quality chocolate will enhance the overall flavor of your bark.
- Add Toppings While Chocolate is Warm: This helps toppings stick better to the chocolate base.
- Work Quickly: Once the chocolate is melted, assembly is quick. If it sets in the bowl before you finish, gently reheat it for a few seconds.
- Make It Fun: Encourage creativity! Let kids choose their toppings for a fun family activity.
Easy Variations
- Nutty Delight: Add a mix of chopped nuts like walnuts and pecans for an added crunch.
- Dried Fruit Medley: Incorporate a mix of dried fruits such as coconut flakes, raisins, or apricots for different flavors.
- Spiced Option: Sprinkle a touch of cinnamon or nutmeg into the melted chocolate for a warm, spiced flavor.
- Mint Chocolate: Use mint chocolate chips instead of regular chocolate for a refreshing twist.
- Dark Chocolate with Sea Salt: Use dark chocolate and sprinkle a few flakes of sea salt on top before the chocolate sets for a sweet and salty combination.
What to Serve with Last Minute Halloween Bark
- Hot Cocoa: The sweetness of the bark pairs wonderfully with a warm cup of cocoa.
- S’mores: Enjoy both treats side by side for a mixed dessert table.
- Fruit Skewers: The freshness of fruit contrasts nicely with the rich chocolate bark.
- Cheese Platter: For a savory option, a cheese board provides a delicious balance to the sweetness.
- Halloween Cookies: Offer a variety of seasonal cookies to complement the bark.
Storage and Reheating
- Refrigerator Storage: Store leftover bark in an airtight container in the refrigerator for up to 2 weeks.
- Freezer Storage: You can freeze the chocolate bark as well; just separate the pieces with parchment paper and keep in an airtight container for up to 3 months.
- Reheating: If the bark becomes soft, place it in the refrigerator to restore firmness. Do not microwave, as this will melt the chocolate.
- Meal Prep Note: This is a great make-ahead treat. Prepare it a few days before an event or gathering.
Common Mistakes to Avoid
- Burning the Chocolate: Watch the chocolate carefully while melting; stop before it’s completely melted since residual heat will finish the job.
- Not Using Parchment Paper: Skipping parchment can lead to a sticky mess when trying to remove the bark later on.
- Adding Too Many Toppings: Keeping a balance is key. Overloading can make the bark difficult to break and eat.
- Not Allowing Enough Cooling Time: Ensure the chocolate is fully set to avoid a gooey mess when breaking it into pieces.
- Skipping the Taste Test: A little nibble before serving can ensure it’s just right!
Last Minute Halloween Bark: Background & Cultural Inspiration
Chocolate bark has been loved for generations, often celebrated for its versatility in both flavors and presentations. Its origins trace back to simple chocolate-making practices, transforming into a canvas for creative toppings. During holidays and special occasions like Halloween, chocolate bark becomes a festive treat that reflects the season’s spirit. Seasonal ingredients, from pumpkin spice to Halloween-themed sprinkles, bring a celebratory atmosphere to gatherings, making it a cherished part of holiday traditions for many families.
Frequently Asked Questions
Can I use white chocolate instead?
Yes, you can certainly use white chocolate for a sweeter, creamier version of this bark. Just adjust the toppings accordingly.
How should I store leftover bark?
Store it in an airtight container in the refrigerator or freezer as outlined above to maintain freshness.
Can I make this a day ahead of time?
Yes, Last Minute Halloween Bark can be made in advance. Just store it properly to keep its quality.
What if my chocolate won’t melt smoothly?
Make sure to heat the chocolate in short intervals and stir frequently. If it’s overheated, it may seize, making it grainy instead of smooth.
Can I make this dairy-free?
Yes, substitute dairy chocolate with dairy-free chocolate chips that are widely available, keeping in mind that the taste may vary slightly.
Final Thoughts
Last Minute Halloween Bark is not only a simple and quick dessert but also a fun way to celebrate the season. Its delightful presentation and customizable nature make it appealing for any gathering. Whether you’re hosting a party or looking for a sweet treat to share, this bark is sure to impress. So gather your ingredients, get creative with your toppings, and enjoy the fun of making this delicious Halloween treat!
PrintLast Minute Halloween Bark

A quick and customizable treat perfect for Halloween, easy to make with kids and great for gifting.
- Prep Time: 10 minutes
- Cook Time: 5 minutes
- Total Time: 15 minutes
- Yield: 8 servings
- Category: Dessert
- Method: Microwave and Chilling
- Cuisine: American
- Diet: Vegetarian
Ingredients
- 12 oz milk or dark chocolate
- 1 cup Halloween-themed sprinkles
- ½ cup chopped nuts (optional)
- ½ cup dried fruits (optional)
Instructions
- Melt the chocolate in a microwave-safe bowl.
- Spread the melted chocolate onto a parchment-lined baking sheet.
- Add the Halloween sprinkles and optional toppings over the melted chocolate.
- Cool in the refrigerator for 15-20 minutes until set.
- Break into irregular pieces and serve.
Notes
Use high-quality chocolate for the best flavor. Work quickly to keep the melted chocolate warm for adding toppings.












