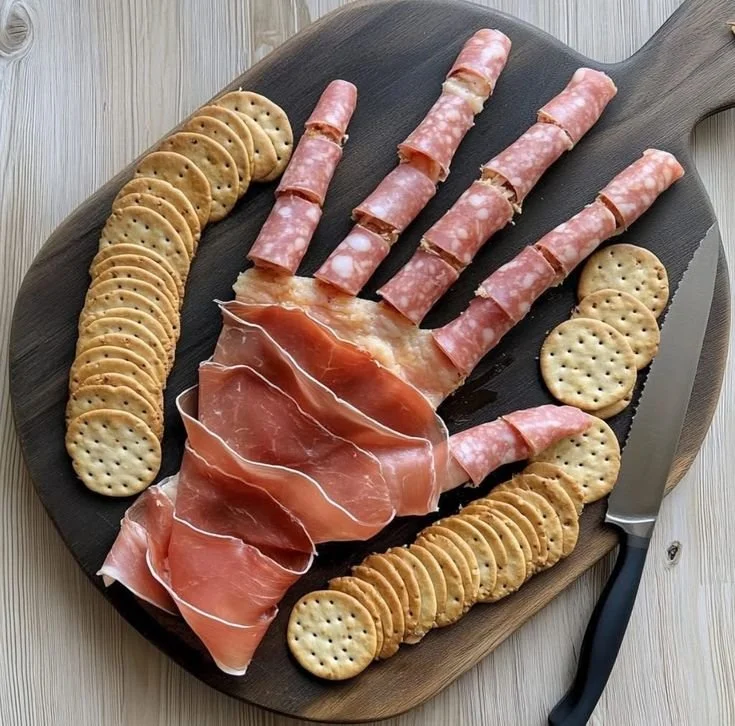
Regalini, or stuffed pasta shapes, are a delightful treat that brings a festive twist to your table, especially during Halloween celebrations. These bite-sized delights are not only fun to make but also perfect for sharing with family and friends. The combination of flavors and the creative fillings make them an enjoyable addition to your holiday spread.
Why You’ll Love Regalini
- Fun to Make: Get everyone involved in shaping and filling these pasta bites. It’s a social activity everyone can enjoy.
- Customizable Fillings: You can personalize each regali with a variety of fillings, from classic pumpkin and ricotta to inventive cheese blends.
- Great for Parties: These stuffed pasta shapes make for an impressive appetizer that’s sure to wow guests at your Halloween gathering.
- Perfect for All Ages: With their fun shape and flavor variety, regalini appeal to both kids and adults.
- Easy to Prepare Ahead of Time: You can make them in advance and simply bake or boil them right before serving, saving you time on the big day.
Recipe Overview
- Prep Time: 30 minutes
- Cook Time: 10 minutes
- Total Time: 40 minutes
- Servings: 4-6
- Difficulty Level: Easy
Ingredients You’ll Need for Regalini
-
For the Pasta:
- 2 cups all-purpose flour
- 3 large eggs
- Pinch of salt
- 1 tablespoon olive oil (optional for added richness)
-
For the Filling:
- 1 cup ricotta cheese
- 1/2 cup cooked pumpkin puree
- 1/2 cup grated Parmesan cheese
- Salt and pepper to taste
- Optional: 1 teaspoon nutmeg for added warmth
-
For Cooking:
- Water for boiling
- Olive oil for drizzling
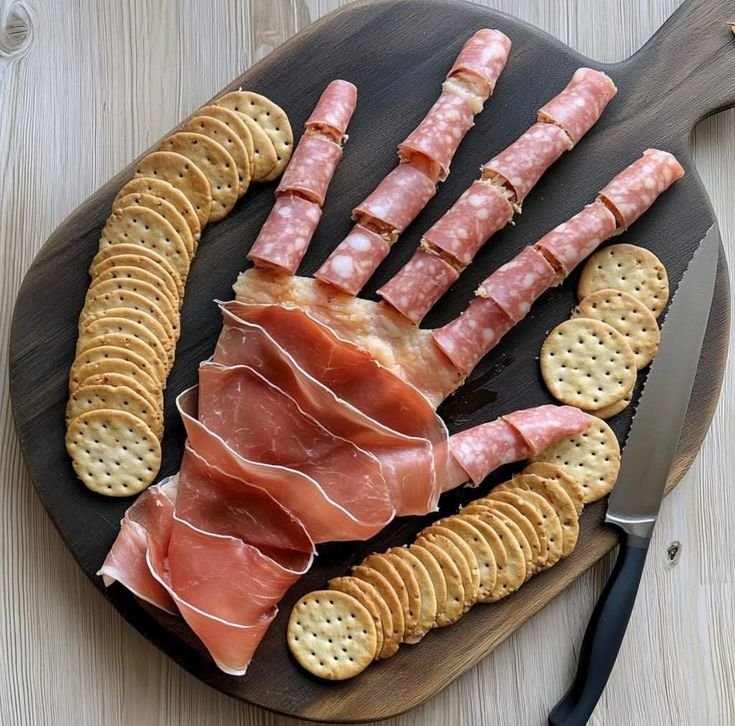
How to Make Regalini
-
Make the Pasta Dough
- In a clean bowl, mound the flour and create a well in the center. Add eggs, salt, and olive oil. Gradually combine until a dough forms. Knead until smooth, about 5-7 minutes. Wrap in plastic and let rest for 30 minutes.
-
Prepare the Filling
- In a mixing bowl, combine ricotta, pumpkin puree, Parmesan, salt, pepper, and nutmeg (if using). Mix until smooth, then set aside.
-
Roll Out the Dough
- After resting, divide the dough into four pieces. Roll out each piece thinly, about 1/16-inch thick. Use a pasta machine if available for consistent thickness.
-
Cut and Shape the Regalini
- Cut the rolled pasta into squares, about 3 inches wide. Place a small spoonful of filling in the center of each square. Fold the square into a triangle and press edges to seal.
-
Cook the Regalini
- Boil a large pot of salted water. Add the regalini and cook for 3-4 minutes until they float to the surface.
-
Serve Them Up
- Drain and serve with a drizzle of olive oil, or place them in a baking dish topped with your favorite sauce. Enjoy!
Tips for Success
- Resting the Dough: Allowing the dough to rest is crucial for easy rolling. Don’t skip this step.
- Filling Consistency: Ensure the filling isn’t too wet; you want it to hold shape. Drain any excess moisture if needed.
- Sealing the Edges: Use a drop of water on the edges before sealing to create a better bond and prevent them from opening during cooking.
- Experiment with Flavors: Don’t hesitate to add herbs or spices into your filling to personalize the flavor profile.
Easy Variations
- Cheese Blend: Mix in different cheeses, like mozzarella or feta, for a creamier filling.
- Vegetable Additions: Add finely chopped spinach or sautéed mushrooms to the filling for extra nutrients and flavors.
- Meat Option: Incorporate cooked sausage or ground turkey for a heartier filling.
- Herbed Dough: For added flavor, mix in finely chopped basil or parsley into the pasta dough.
What to Serve with Regalini
- Marinara Sauce: A classic choice that complements the flavors of regalini perfectly.
- Garlic Bread: The crunchiness of garlic bread offers a lovely contrast to the soft pasta.
- Salad: A fresh garden salad provides a nice balance and adds a splash of color to your table.
- Wine: Pair with a light white wine to enhance the dining experience.
Storage and Reheating
- Refrigerator Storage: Store cooked regalini in an airtight container in the fridge for up to 3 days.
- Freezer Storage: If you want to prepare ahead, freeze uncooked regalini in a single layer on a baking sheet. Once frozen, transfer them to a zip-top bag for up to 3 months.
- Reheating: Heat in a covered dish in a 350°F oven until warmed through, or reheat gently in a skillet with a bit of olive oil.
- Meal Prep Tip: Cooked regalini can be a great addition to lunches throughout the week when combined with assorted sauces.
Common Mistakes to Avoid
- Too Thick Dough: Rolling the dough too thick may lead to uneven cooking. Make sure it’s rolled thin enough.
- Overfilling: It’s easy to overfill the regalini; this can cause them to burst during cooking. Stick to a teaspoon of filling per piece.
- Improper Sealing: If not sealed well, the filling may leak during boiling. Press the edges firmly to ensure they’re airtight.
Regalini: Background & Cultural Inspiration
Regalini have their roots in Italian cuisine, particularly in regions where pasta is a staple. This charming dish showcases the tradition of filling pasta, echoing the culinary heritage that emphasizes fresh ingredients and hearty flavors. Common in festive gatherings, regalini symbolize togetherness and celebration, making them a beloved choice during special occasions. Their simple elegance allows for various fills, reflecting the creativity of the cook while paying homage to their Italian origins.
Frequently Asked Questions
Can I make the dough in advance?
Yes, you can prepare the dough a day ahead, store it wrapped in plastic in the refrigerator, and let it come to room temperature before rolling.
How do I know when the regalini are done?
When they float to the surface of boiling water, they are usually cooked. After 3-4 minutes, cut one open to check if they’re firm and the filling is warm.
Can I prepare regalini without eggs?
Yes, you can use egg substitutes or make a ‘vegan’ pasta dough with flour and water, but the texture may vary.
What’s the best sauce for regalini?
Marinara, Alfredo, or even a simple brown butter and sage sauce pairs wonderfully.
Can I freeze cooked regalini?
Yes, cooked regalini can be frozen for later use. Make sure they are completely cooled before freezing in an airtight container.
Final Thoughts
Regalini are a delightful addition to any gathering, particularly during festive occasions like Halloween. Their appealing shapes and customizable fillings make them a wonderful dish to share with loved ones. Whether you follow the traditional recipes or get creative with your own spins, these stuffed pasta bites are truly worth trying. So gather your ingredients, and enjoy a fun cooking session that will lead to delicious rewards!
PrintRegalini: Stuffed Pasta Shapes
Regalini are delightful stuffed pasta shapes that bring a festive twist to your gatherings, perfect for sharing with family and friends.
- Prep Time: 30 minutes
- Cook Time: 10 minutes
- Total Time: 40 minutes
- Yield: 4-6 servings
- Category: Appetizer
- Method: Boiling
- Cuisine: Italian
- Diet: Vegetarian
Ingredients
- 2 cups all-purpose flour
- 3 large eggs
- Pinch of salt
- 1 tablespoon olive oil (optional)
- 1 cup ricotta cheese
- 1/2 cup cooked pumpkin puree
- 1/2 cup grated Parmesan cheese
- Salt and pepper to taste
- 1 teaspoon nutmeg (optional)
- Water for boiling
- Olive oil for drizzling
Instructions
- Make the Pasta Dough: In a clean bowl, mound the flour and create a well in the center. Add eggs, salt, and olive oil. Gradually combine until a dough forms. Knead until smooth, about 5-7 minutes. Wrap in plastic and let rest for 30 minutes.
- Prepare the Filling: In a mixing bowl, combine ricotta, pumpkin puree, Parmesan, salt, pepper, and nutmeg (if using). Mix until smooth, then set aside.
- Roll Out the Dough: After resting, divide the dough into four pieces. Roll out each piece thinly, about 1/16-inch thick.
- Cut and Shape the Regalini: Cut the rolled pasta into squares, about 3 inches wide. Place a small spoonful of filling in the center of each square. Fold the square into a triangle and press edges to seal.
- Cook the Regalini: Boil a large pot of salted water. Add the regalini and cook for 3-4 minutes until they float to the surface.
- Serve Them Up: Drain and serve with a drizzle of olive oil, or place them in a baking dish topped with your favorite sauce. Enjoy!
Notes
Rest the dough to make rolling easier. Ensure the filling is not too wet to maintain shape.












