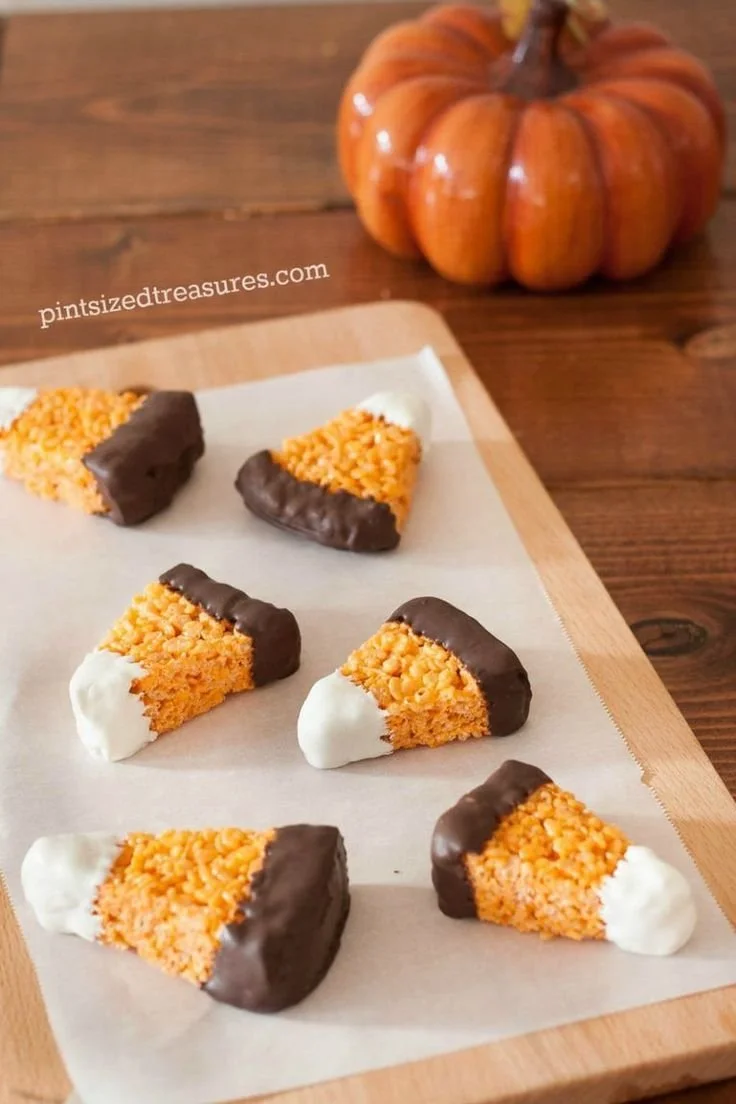
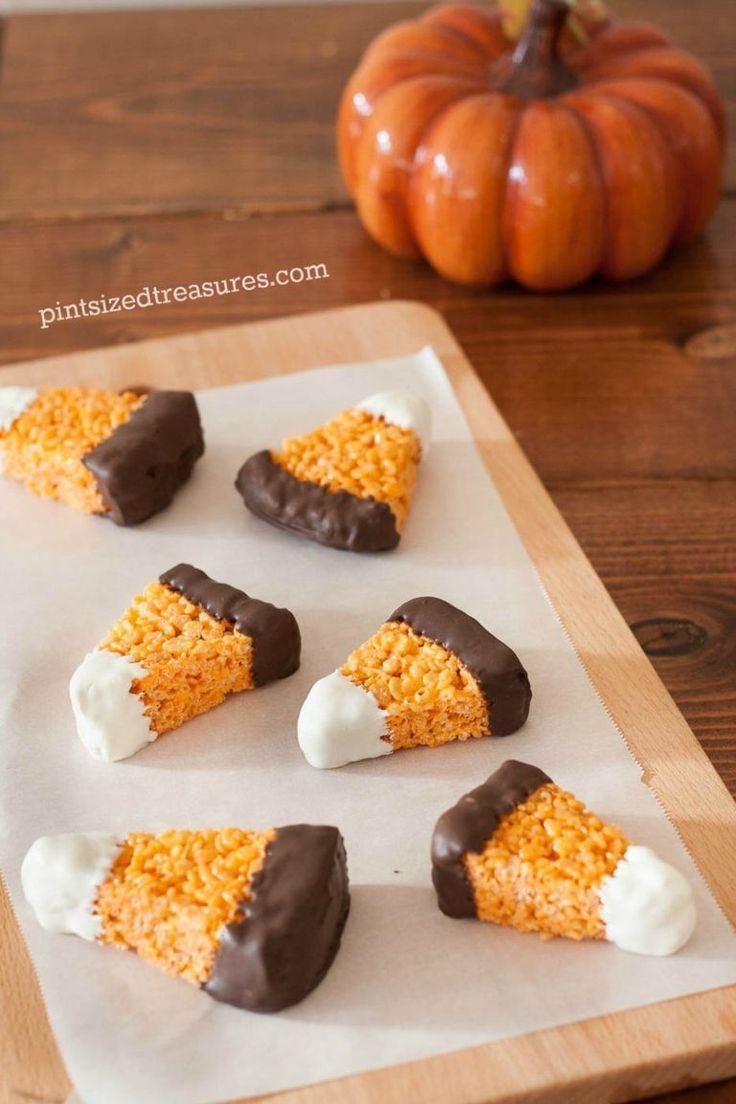
Making Halloween Sweets That Are Almost Too Cute to Eat is a delightful way to celebrate the spooky season. These fun and whimsical treats bring joy to both kids and adults, making them perfect for parties, school events, or simply to enjoy at home. With vibrant colors and playful designs, these sweets are sure to be a hit, pulling everyone into the festive spirit.
Why You’ll Love Halloween Sweets That Are Almost Too Cute to Eat
- Fun to Create: Crafting these sweets is a creative outlet. You can let your imagination run wild with colors and designs!
- Family-Friendly Activity: Get the kids involved in making these treats. It’s a fun way to bond and create lasting Halloween memories.
- Visually Appealing: The cute designs are sure to impress at any gathering, making them Instagram-worthy treats.
- Customizable: You can easily modify the ingredients and toppings to suit various tastes and dietary preferences.
- Perfect for Parties: These treats make excellent additions to Halloween parties, potlucks, or as fun classroom snacks.
Recipe Overview
- Prep Time: 30 minutes
- Cook Time: 10 minutes
- Total Time: 40 minutes
- Servings: 12-15 treats
- Difficulty Level: Easy
Ingredients You’ll Need for Halloween Sweets That Are Almost Too Cute to Eat
-
Base Ingredients:
- 2 cups of graham cracker crumbs
- 1 cup of powdered sugar
- ½ cup of unsweetened cocoa powder
- 1 cup of unsalted butter, softened
- 1 teaspoon of vanilla extract
-
Decorative Ingredients:
- 1 cup of orange candy melts
- 1 cup of black candy melts
- Edible eyes or chocolate chips for decoration
- Halloween-themed sprinkles
These ingredients provide a great base for your Halloween sweets, with ample opportunities for creativity. You can substitute graham cracker crumbs with crushed oreos for a chocolatey twist or use gluten-free cookies if needed.
here
How to Make Halloween Sweets That Are Almost Too Cute to Eat
-
Prepare the Base: In a large mixing bowl, combine the graham cracker crumbs, powdered sugar, cocoa powder, softened butter, and vanilla extract. Mix well until a dough forms.
-
Shape the Mixture: Using your hands, form the mixture into small balls (about one inch in diameter). Place them on a baking sheet lined with parchment paper.
-
Chill the Base: Cover the baking sheet with plastic wrap and refrigerate for about 20 minutes, or until the balls are firm.
-
Melt the Candy Coating: While the base is chilling, melt the orange and black candy melts separately in the microwave in 30-second intervals, stirring in between until smooth.
-
Coat the Treats: Dip each chilled ball into the melted orange coating, ensuring it’s completely covered. Return to the baking sheet.
-
Add Decorations: Before the coating sets, add edible eyes or chocolate chips to create fun faces on the treats. You may also sprinkle Halloween-themed sprinkles for extra flair.
-
Set the Coating: Allow the coating to harden at room temperature, or place the baking sheet back in the fridge for a quicker set.
Tips for Success
- Don’t Overheat the Candy Melts: Melting them slowly helps maintain their smooth texture.
- Experiment with Shapes: Instead of balls, try forming the mixture into spooky shapes like ghosts or pumpkins for added fun.
- Chill Before Coating: Ensure the base is sufficiently chilled before dipping to prevent falling apart.
- Use Wax Paper: To prevent sticking, line your baking sheet with wax paper instead of regular parchment.
- Temperature Matters: Ensure your kitchen isn’t too warm when working with chocolate, as it can melt quickly and become difficult to manage.
Easy Variations
- Nut Butter Addition: For a richer flavor, add a tablespoon of nut butter (like peanut or almond) to the base mixture.
- Different Flavors: Swap out cocoa powder for different flavored extracts or honey to create unique sweets.
- Add Crunch: Mix in chopped nuts or crispy rice cereal into the base for added texture.
- Color Variations: Use different colored candy melts to create sweets for various holidays beyond Halloween.
- Vegan Option: Substitute the butter with coconut oil and use vegan candy melts.
What to Serve with Halloween Sweets That Are Almost Too Cute to Eat
- Hot Chocolate: A warm mug of hot chocolate perfectly complements the sweetness of the treats.
- Pumpkin Pie: This classic fall dessert pairs well with the spooky theme and adds a slice of tradition.
- Apple Cider: A refreshing glass of apple cider would enhance the fall flavor palette.
- Halloween Snack Board: Create a fun snack board with various Halloween-themed nibbles to serve alongside these sweets.
- Spooky Cookies: Serve with themed cookies for an extra dose of fun.
Storage and Reheating
- Refrigerator Storage: Keep leftover sweets in an airtight container in the fridge for up to a week.
- Freezer Storage: You can also freeze them. Place treats in a single layer on a baking sheet, freeze until solid, then store in a freezer bag for up to 3 months.
- Reheating Method: Allow to thaw in the fridge or at room temperature. Avoid reheating in the microwave to preserve texture.
- Meal Prep Note: You can make these sweets a few days in advance of any party or gathering.
Common Mistakes to Avoid
- Not Chilling the Mixture: Skipping the chilling step can lead to messy dipping and unstable shapes.
- Overcrowding the Baking Sheet: Make sure to leave space between each treat to allow the coating to set properly.
- Using Too Much Moisture: Be careful not to add too much liquid to the base; it should be firm enough to hold its shape.
- Skipping the Decorations: Don’t underestimate the importance of visual appeal; take time to decorate for the festive look.
- Ignoring Temperature: Make sure your working environment isn’t too hot, as warmer temperatures can affect the candy coating.
Halloween Sweets That Are Almost Too Cute to Eat: Background & Cultural Inspiration
Halloween treats have a long history that dates back to ancient Celtic festivals, where people would celebrate the end of harvest with food and festivities. The tradition has evolved, especially in the United States, into a holiday centered around costumes and sweet treats. The creativity involved in decorating Halloween sweets reflects the playful nature of the season, encouraging families to come together, express their artistic side, and celebrate the spooky spirit.
Frequently Asked Questions
Can I use any type of candy melts?
Yes, you can use any colors or brands of candy melts that you prefer. Just make sure they are specially formulated for melting.
How can I make these treats more chocolatey?
If you want a richer chocolate flavor, consider adding chocolate chips to the base mixture or use dark cocoa powder.
Can I prepare these sweets in advance?
Absolutely! These treats can be made a few days ahead of time and stored in the refrigerator or freezer.
What’s the best way to decorate?
Using edible eyes and sprinkles right after coating them will help them stick better. Get creative with different designs!
Are these treats gluten-free?
They can be made gluten-free by using gluten-free graham crackers or cookies in the base mixture.
Final Thoughts
Halloween Sweets That Are Almost Too Cute to Eat are not just treats; they are an invitation to unleash your creativity and have fun with loved ones. These sweets are easy to make, delightful to decorate, and perfect for sharing, making them a must-try for this festive season. Get ready to impress your guests and create beautiful memories with this fun recipe!
PrintHalloween Sweets That Are Almost Too Cute to Eat
Delightful, creative Halloween treats that bring joy to all ages, perfect for parties and family activities.
- Prep Time: 30 minutes
- Cook Time: 10 minutes
- Total Time: 40 minutes
- Yield: 12-15 treats
- Category: Dessert
- Method: Chilling and Coating
- Cuisine: American
- Diet: Vegetarian
Ingredients
- 2 cups of graham cracker crumbs
- 1 cup of powdered sugar
- ½ cup of unsweetened cocoa powder
- 1 cup of unsalted butter, softened
- 1 teaspoon of vanilla extract
- 1 cup of orange candy melts
- 1 cup of black candy melts
- Edible eyes or chocolate chips for decoration
- Halloween-themed sprinkles
Instructions
- Prepare the Base: In a large mixing bowl, combine the graham cracker crumbs, powdered sugar, cocoa powder, softened butter, and vanilla extract. Mix well until a dough forms.
- Shape the Mixture: Using your hands, form the mixture into small balls (about one inch in diameter). Place them on a baking sheet lined with parchment paper.
- Chill the Base: Cover the baking sheet with plastic wrap and refrigerate for about 20 minutes, or until the balls are firm.
- Melt the Candy Coating: While the base is chilling, melt the orange and black candy melts separately in the microwave in 30-second intervals, stirring in between until smooth.
- Coat the Treats: Dip each chilled ball into the melted orange coating, ensuring it’s completely covered. Return to the baking sheet.
- Add Decorations: Before the coating sets, add edible eyes or chocolate chips to create fun faces on the treats. You may also sprinkle Halloween-themed sprinkles for extra flair.
- Set the Coating: Allow the coating to harden at room temperature, or place the baking sheet back in the fridge for a quicker set.
Notes
For added creativity, try forming the mixture into spooky shapes like ghosts or pumpkins. Use different colored melts for various holidays.












